Get started
Three short walks: run Ramen on your laptop, connect a repo of tools, and connect Claude. Every step has the page you will see. The wiki goes deeper on each topic once you want it.
You need Docker with compose v2, git, make and uv. The first start builds two images and takes three to
five minutes.
1. Start Ramen locally
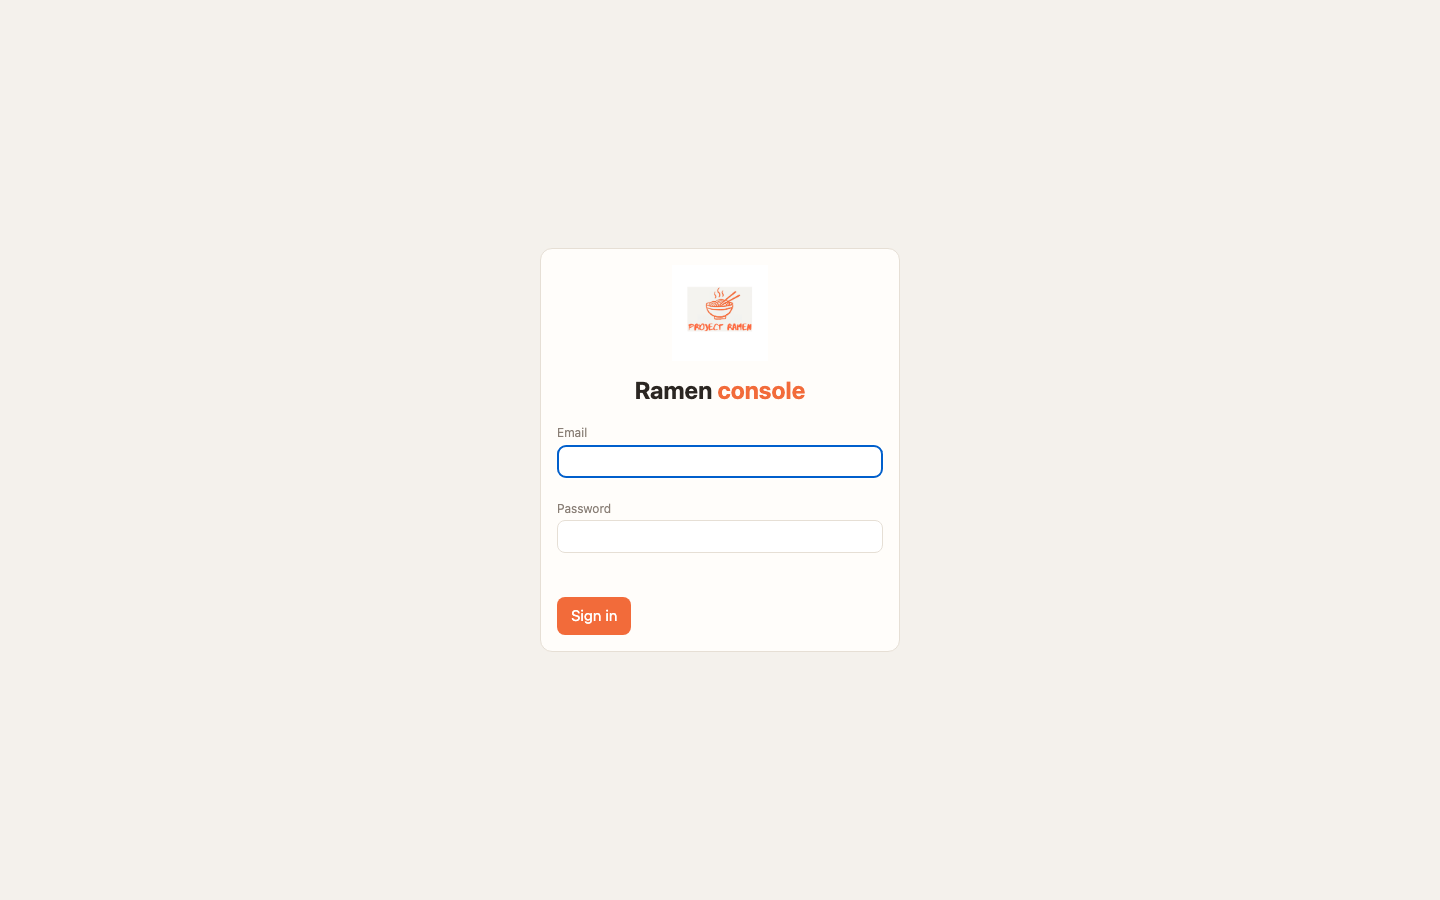
That starts a Firestore emulator, the console and one worker. Open https://localhost:8443 and accept the
self-signed certificate. Sign in with admin@ramen.local and the password changeme-ramen from
deploy/local/.env.
Then prove the whole path with one command:
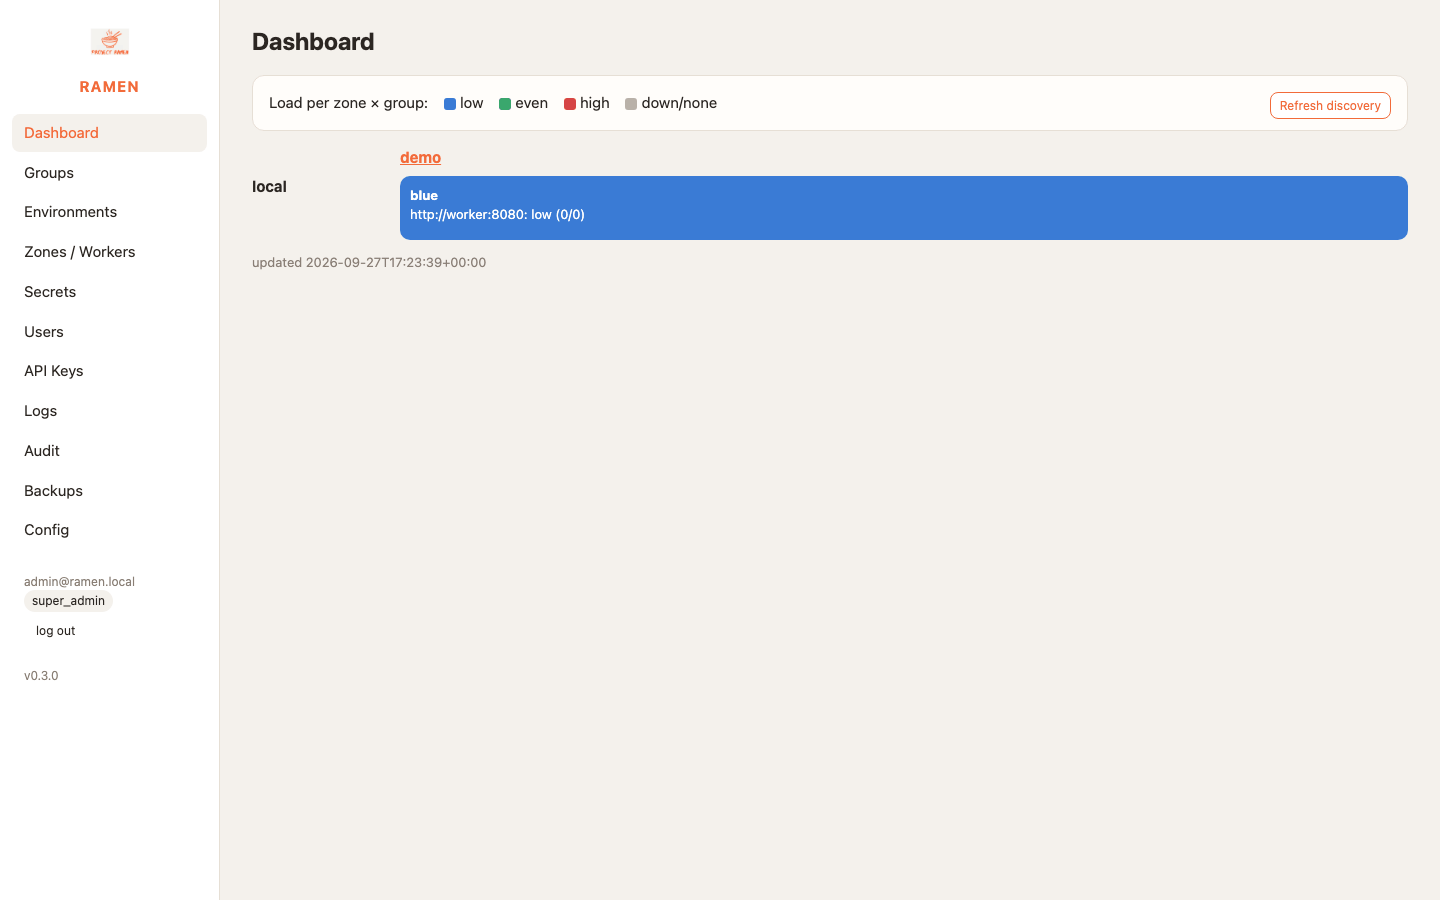
It creates the zone local, the group demo from the demo repo and the environment dev, generates a key, runs
a canary deploy and calls the calculator tool. The last line reads:
make down stops the stack and removes its volumes when you are finished.
2. Connect an MCP repo
A group is one git repo of tools. make demo already made the group demo from the demo repo, which is the
smallest complete one; this section is how you add your own.
mcp/
  requirements.txt
  env.yaml
  tools/demo_calculator_tool/demo_calculator_tool.py
  tools/demo_calculator_tool/demo_calculator_tool.json
  resources/demo_readme/...
  prompts/get_calculation_prompt/...
Fork it, or copy the layout into your own repo. Then in the console, for your repo:
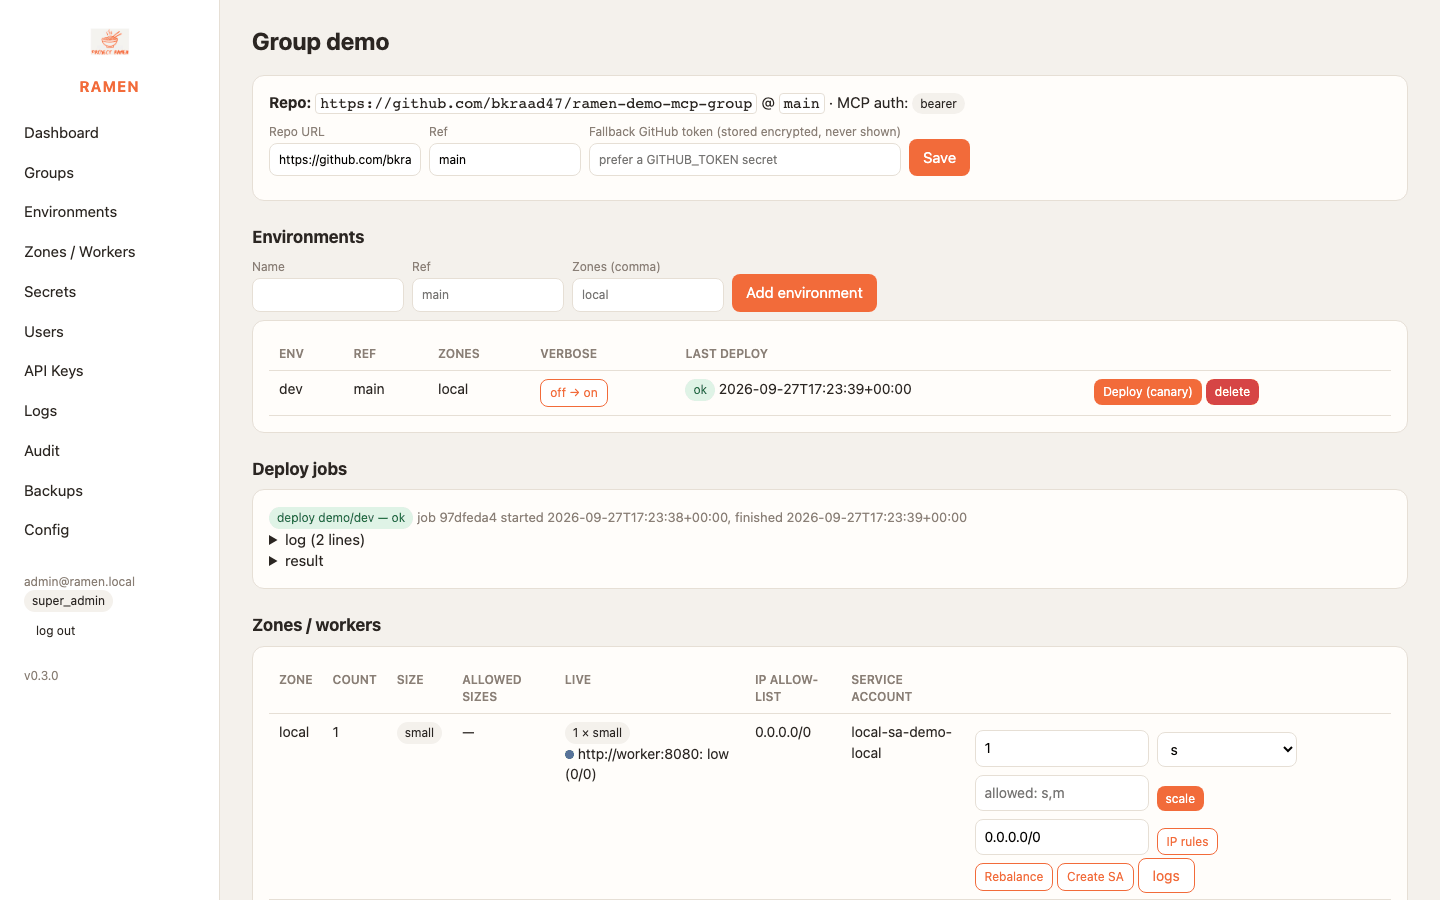
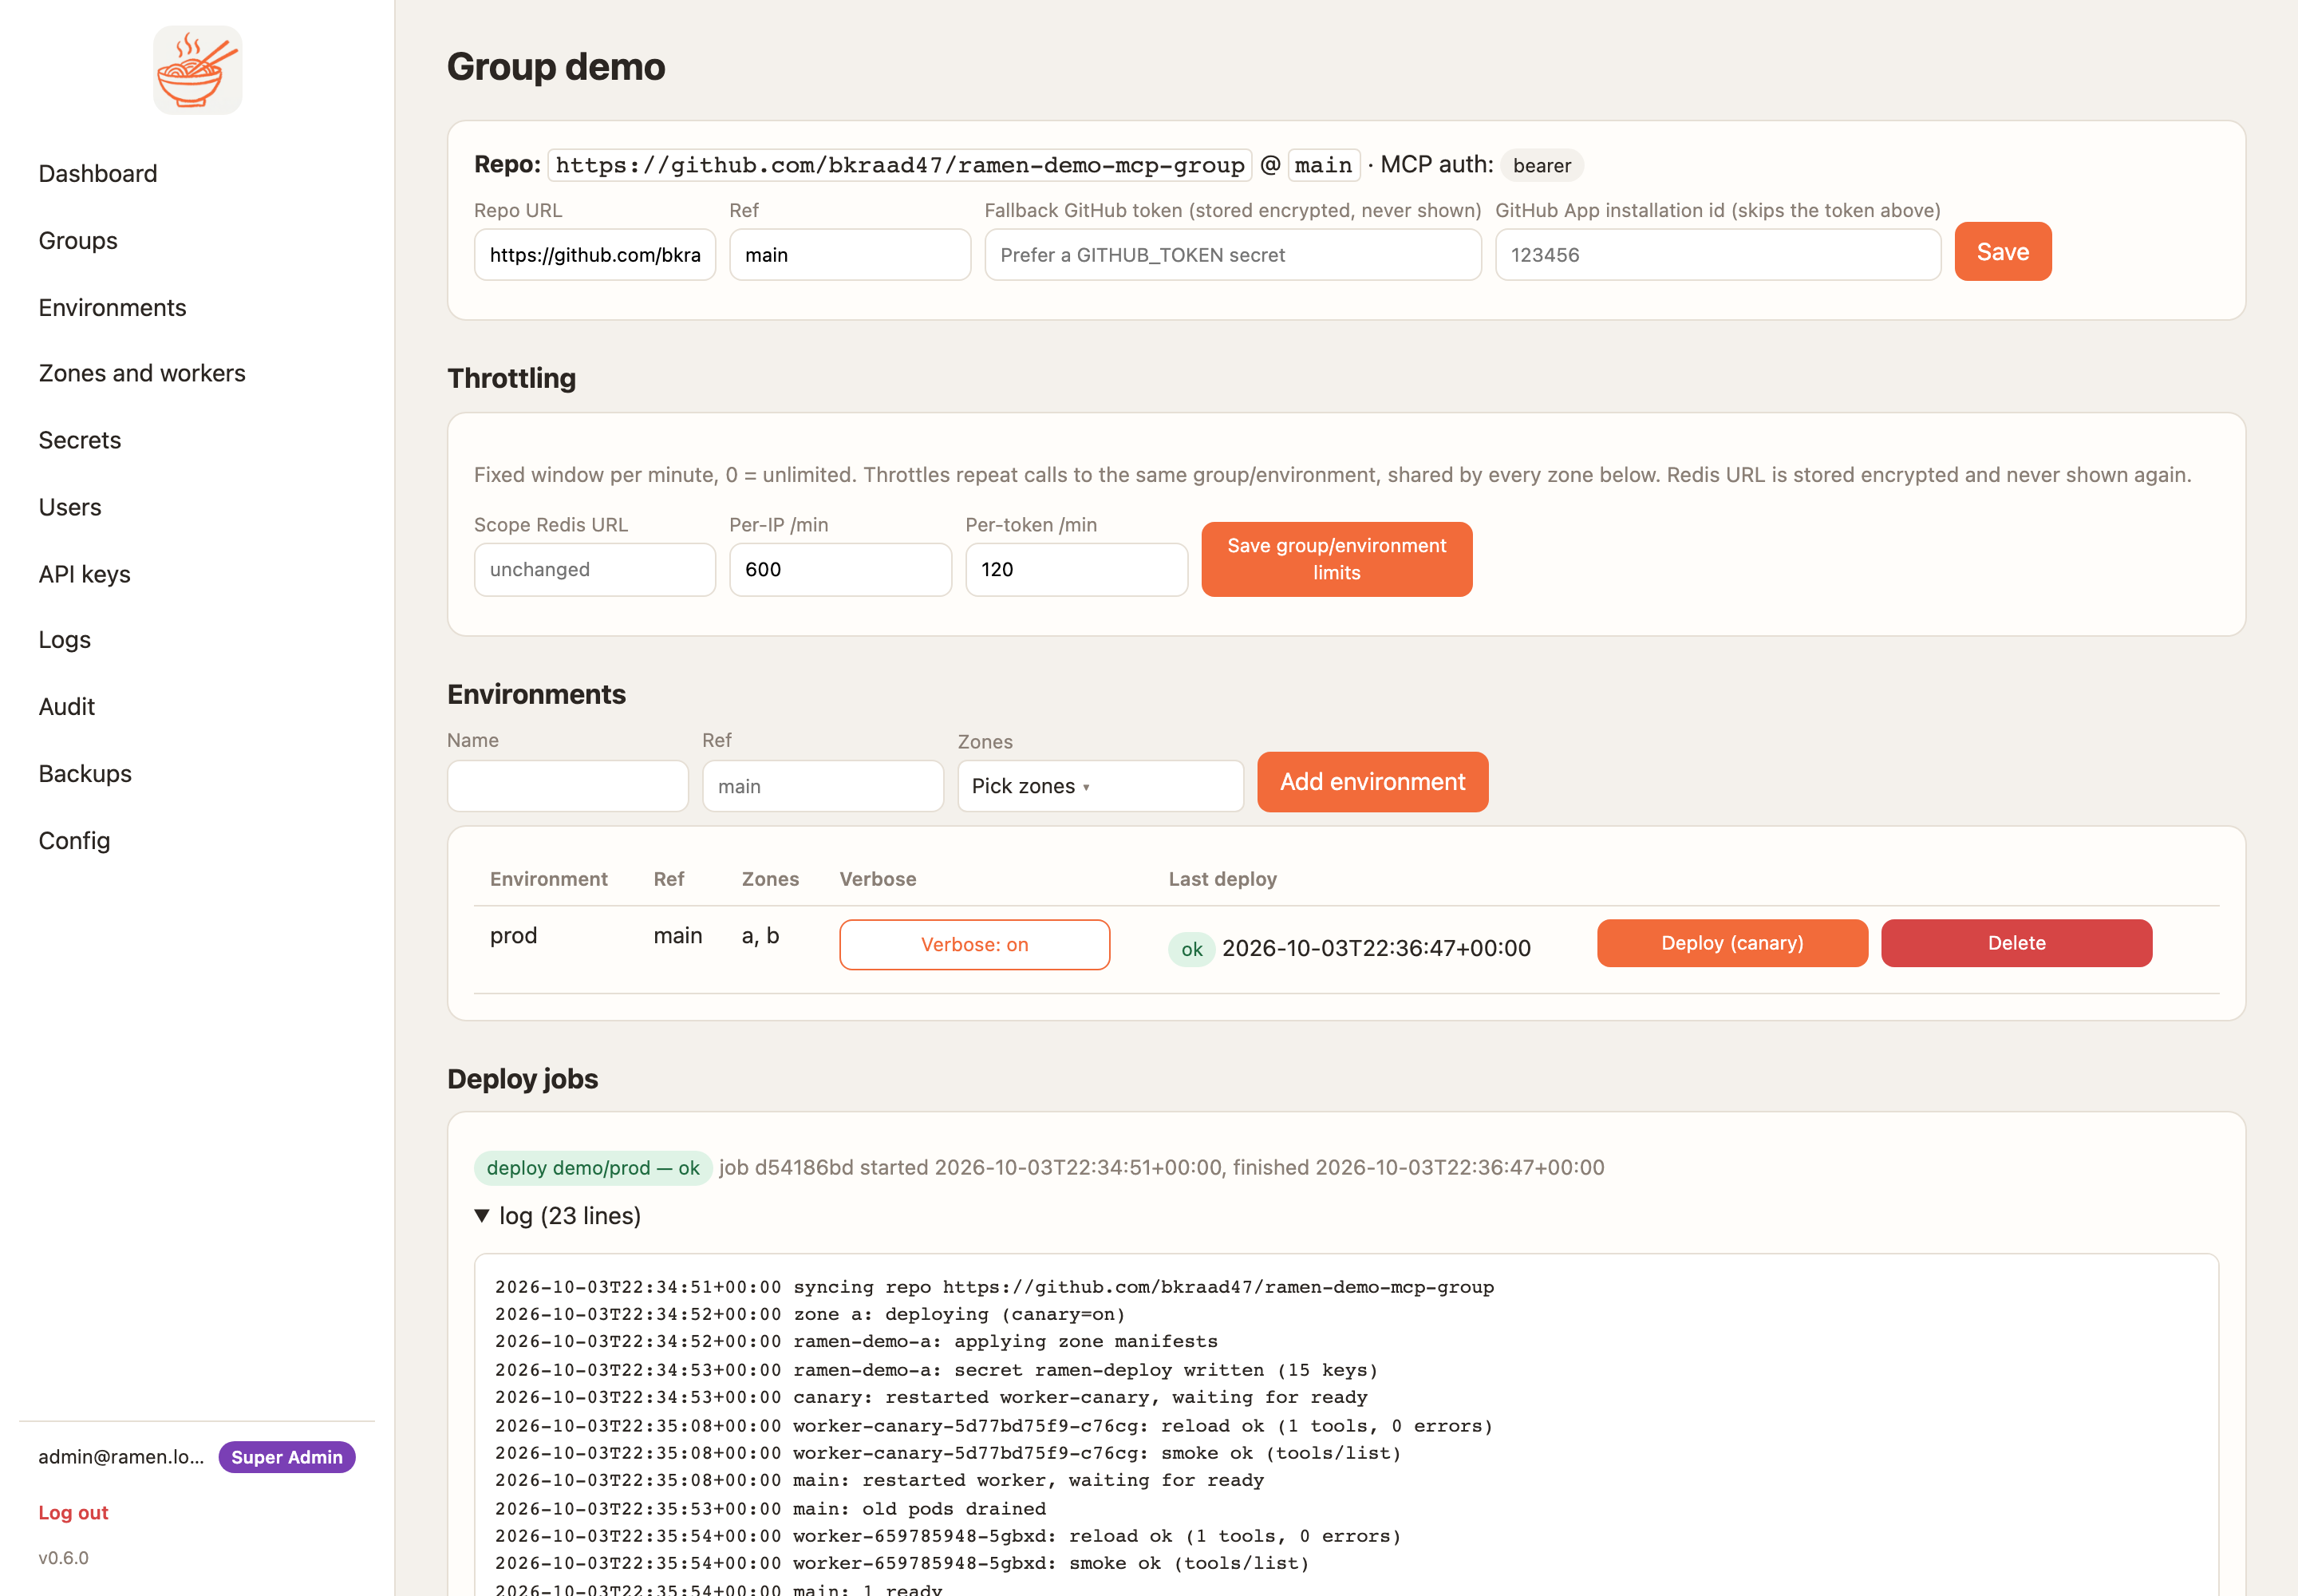
- Groups → Create group. Name it, paste the repo URL and the ref (
main). A private repo needs a secret namedGITHUB_TOKENon the group. - Open the group → Add environment. Name it
devand tick the zonelocal. - Deploy (canary). The job log reads sync, canary, reload, smoke, stable. The first run pip-installs
mcp/requirements.txtand takes a minute or two.
Every later change is a push and another Deploy. How an MCP repo is structured explains the JSON file next to each tool, resources, prompts and local testing.
3. Connect a client
A worker is a URL plus two headers. The credential decides whose name the call runs under: a group key for agents and automation, or your own sign-in through OAuth.
With a group key (Claude Desktop, Cursor, curl)
On the group page, MCP auth keys → Generate key. The key is shown once. Deploy once more so the worker learns it, then export it:
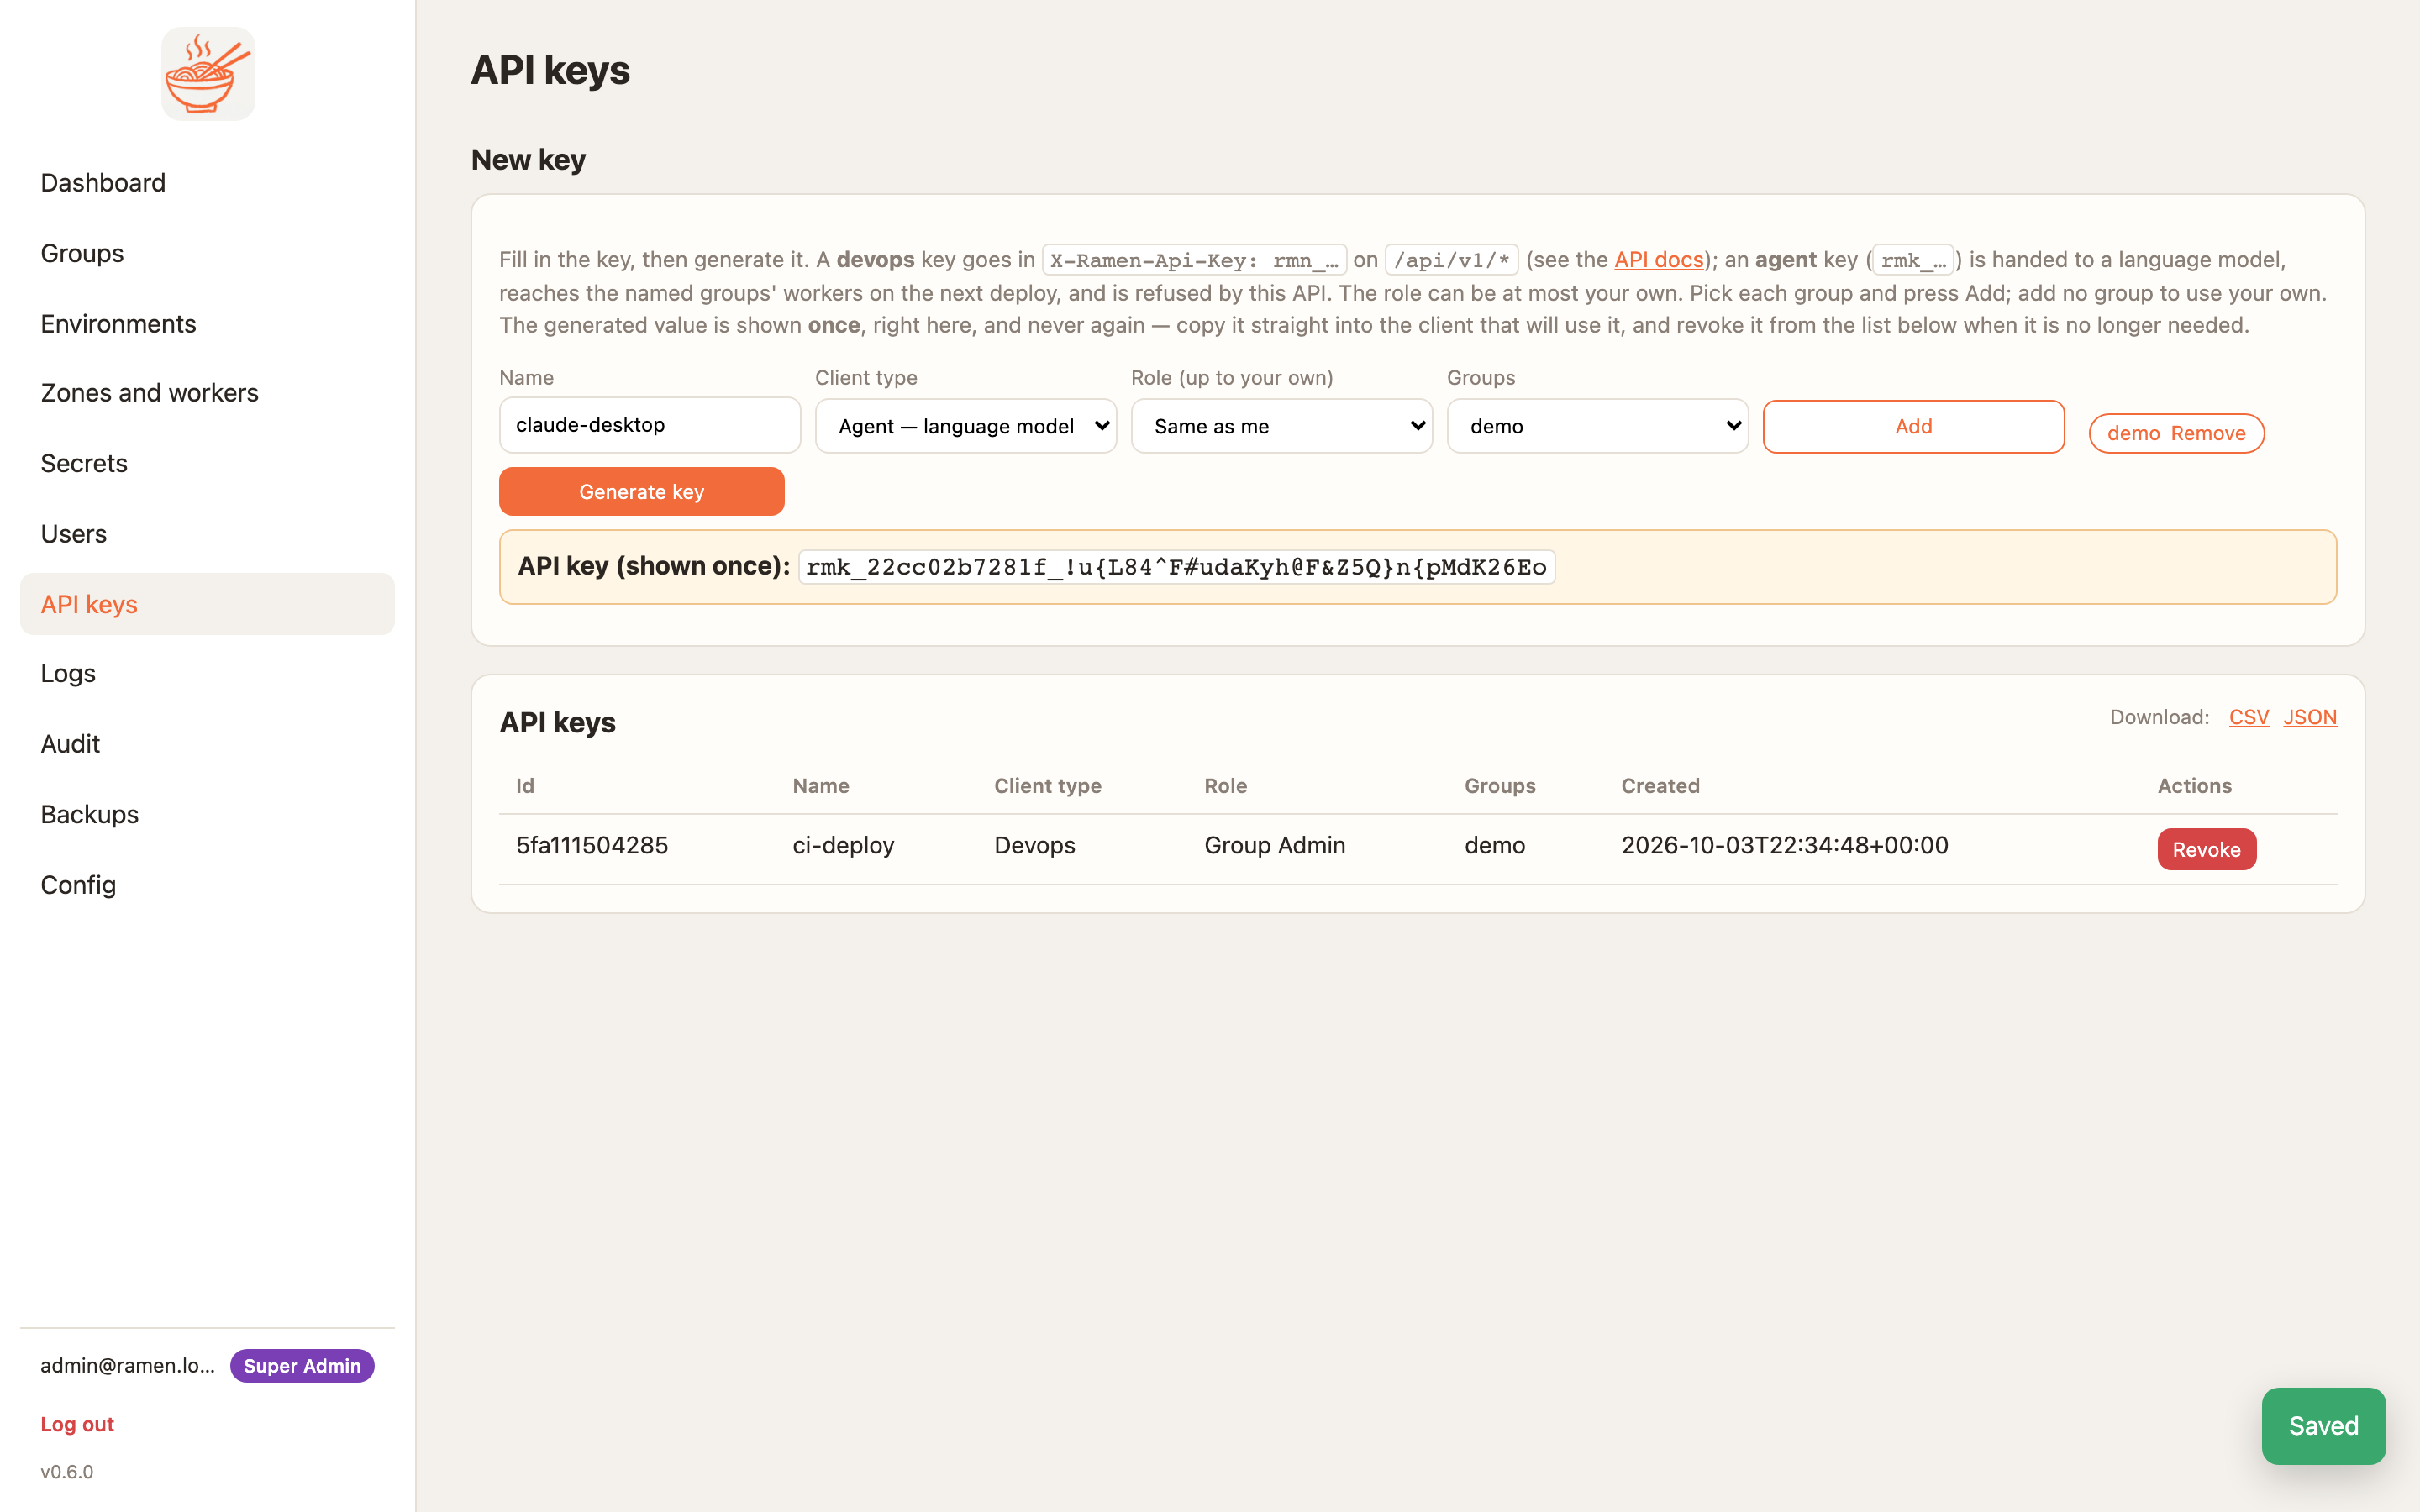
Claude Desktop (Settings → Developer → Edit Config) and Cursor (Settings → MCP) take this entry:
{"mcpServers": {"ramen-demo": {"url": "http://localhost:8080/mcp",
  "headers": {"Authorization": "Bearer ${RAMEN_MCP_KEY}", "ramen-group": "demo", "ramen-zone": "local"}}}}
Restart the client and demo_calculator_tool appears under the server. Ask it to add 2 and 3. The same call from
a shell:
curl -s http://localhost:8080/mcp -H "Authorization: Bearer $RAMEN_MCP_KEY" -H 'Content-Type: application/json' \
  -H 'ramen-group: demo' -H 'ramen-zone: local' \
  -d '{"jsonrpc":"2.0","id":1,"method":"tools/call","params":{"name":"demo_calculator_tool","arguments":{"var1":2,"var2":3,"func":"add"}}}'
As yourself (Claude Code, with OAuth)
No shared key. A super admin registers the client on Config → OAuth clients with the redirect URI
http://localhost/callback, and gives you the client id. Your account needs a role in the group, and MCP User
is enough. Then, against the local stack:
claude mcp add-json ramen-demo '{"type":"http","url":"http://localhost:8080/mcp",
  "headers":{"ramen-group":"demo","ramen-zone":"local"},
  "oauth":{"clientId":"<client id>","scopes":"mcp:demo:local"}}'
Run /mcp in Claude Code, pick ramen-demo and sign in. The browser opens the console's login page, then a
consent page. Approve once. Every call now runs under your name. In a cloud the same two lines use your console's
address and a cloud zone, and nothing else changes.
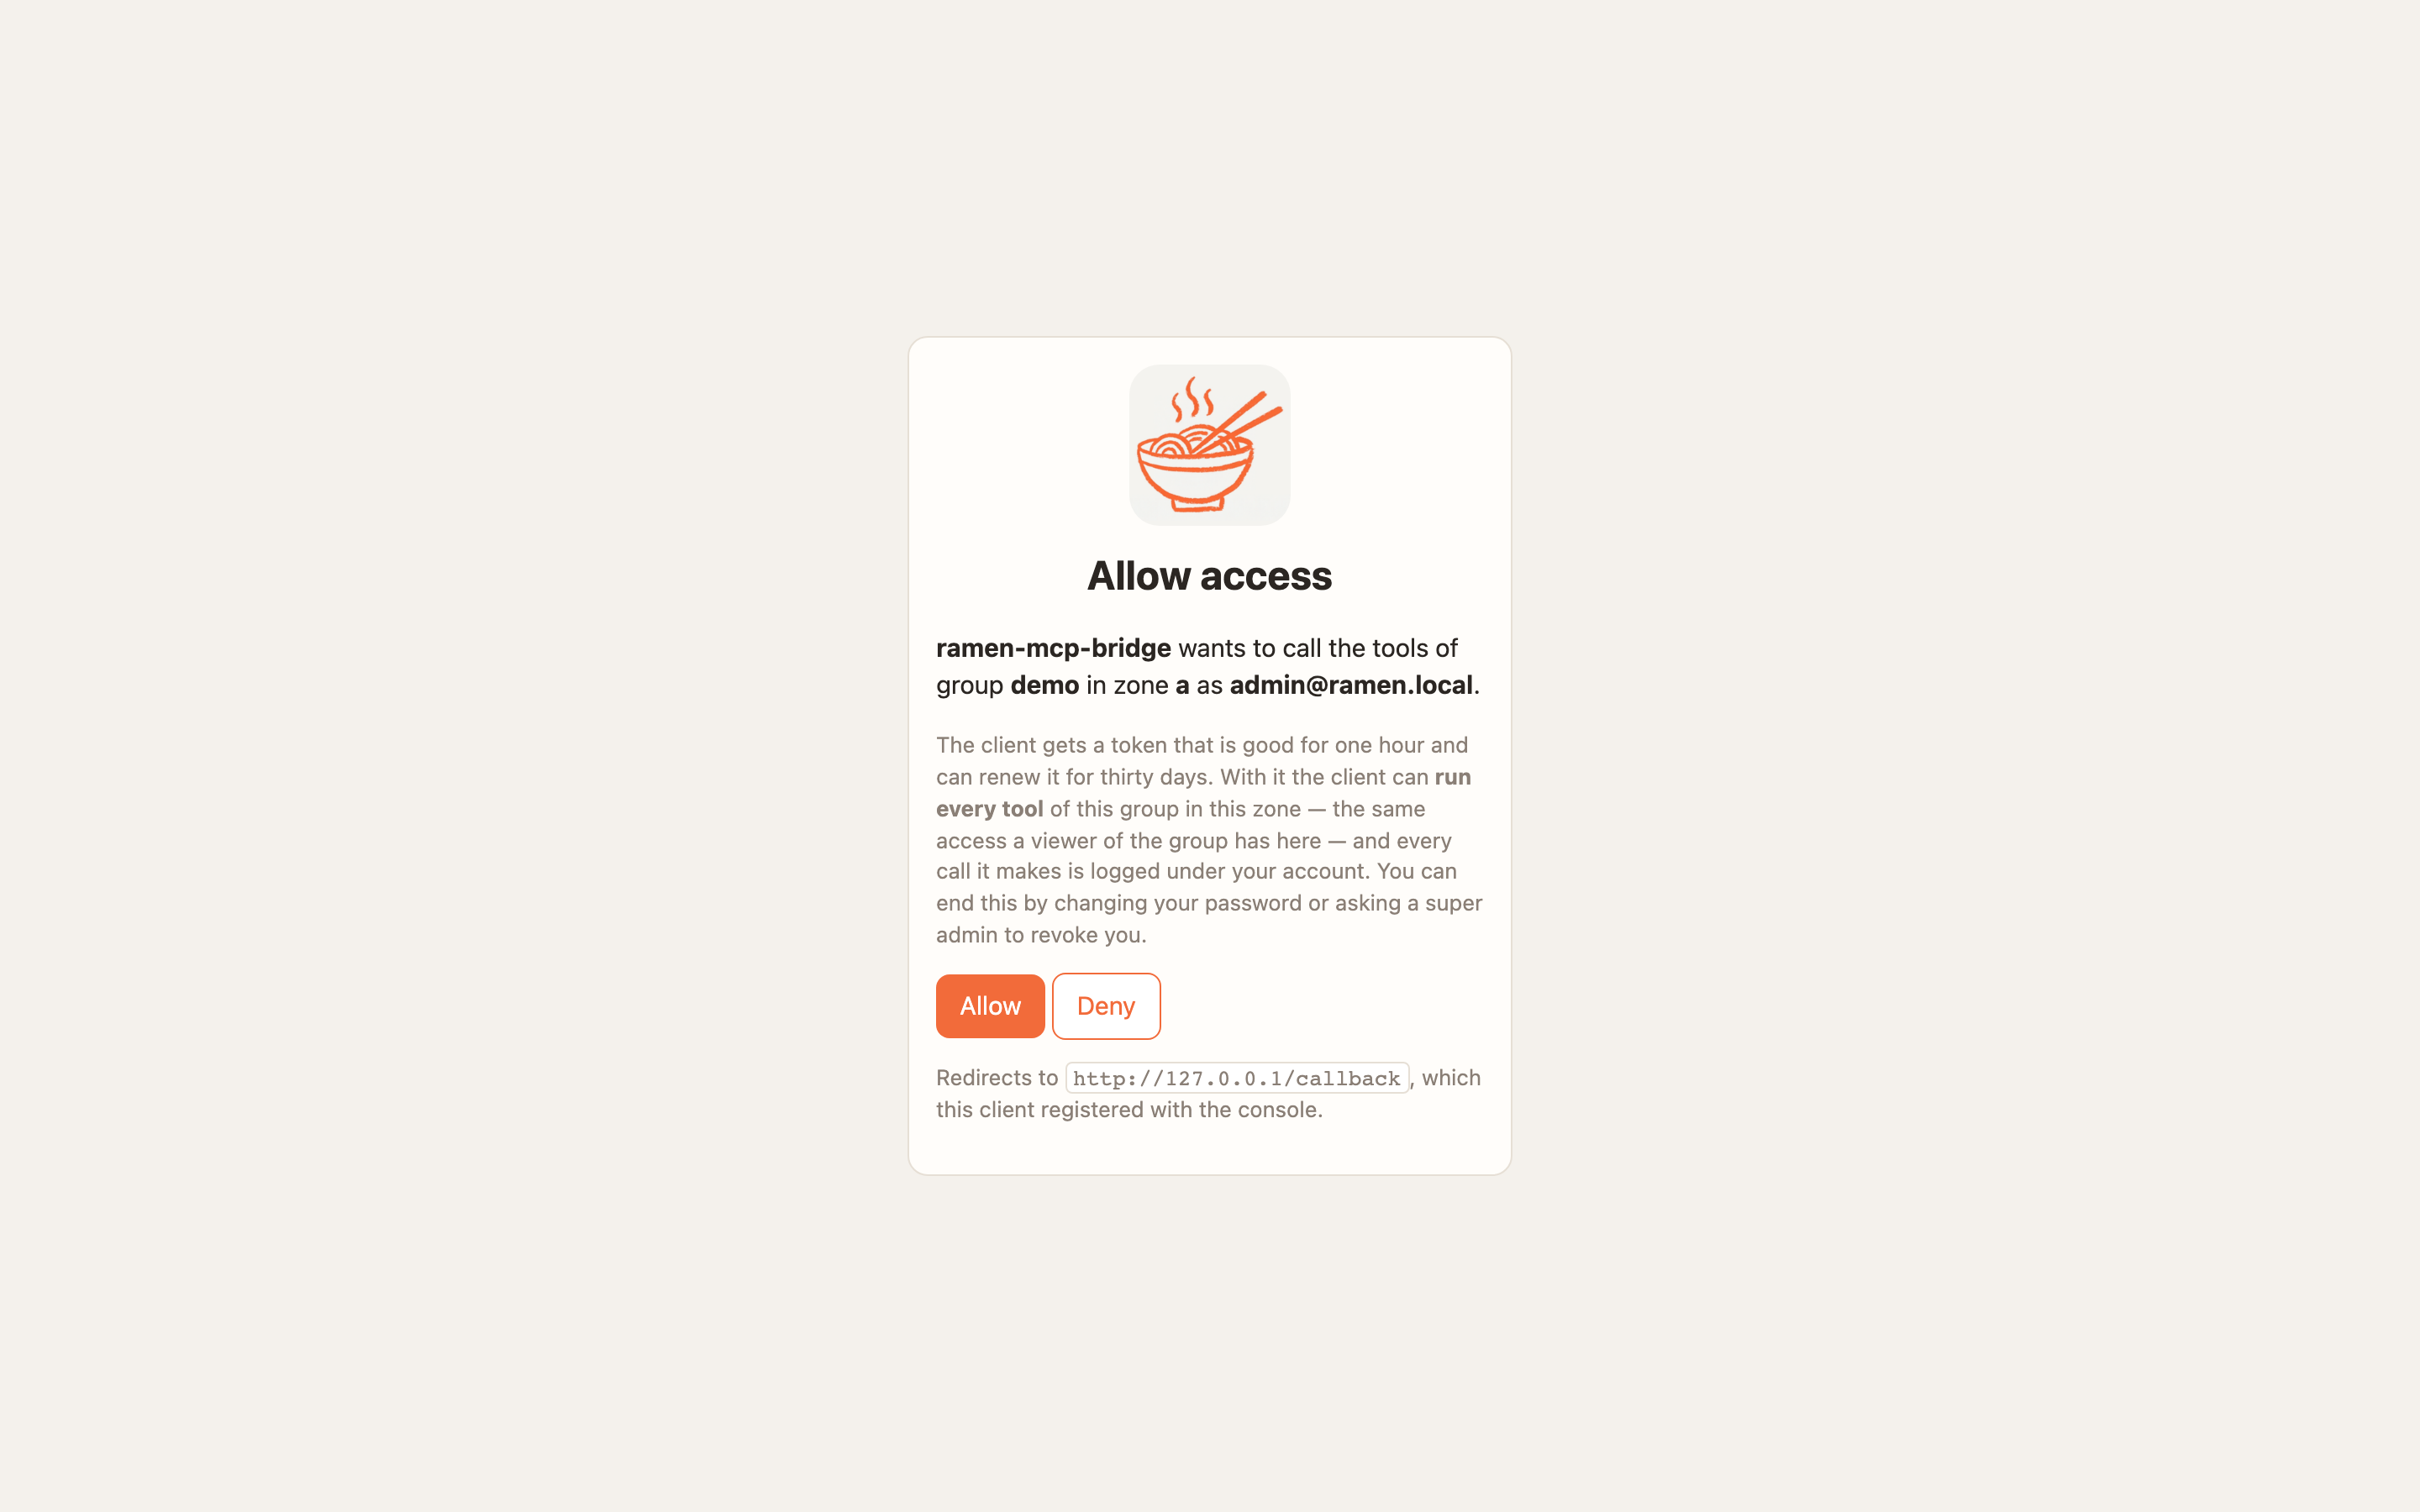
Clients that only speak stdio: the bridge
pip install ramen-mcp-bridge
ramen-mcp-bridge --target localhost:8080 --insecure --key "$RAMEN_MCP_KEY" --group demo --zone local
Put that command in an mcpServers entry as command and args. Against a cloud console it takes
--target <edge>:443 --tls, and --oauth instead of --key to sign a person in:
Connect a client with OAuth.
Where next
- Deploy on GCP or AWS. The console pages are the same; only the addresses change.
- Connect with OAuth and connect with a password account in detail.
- Users and access, secrets, throttling.